Saturday 7 April
Change of plan - fibreglass dome instead of styrene
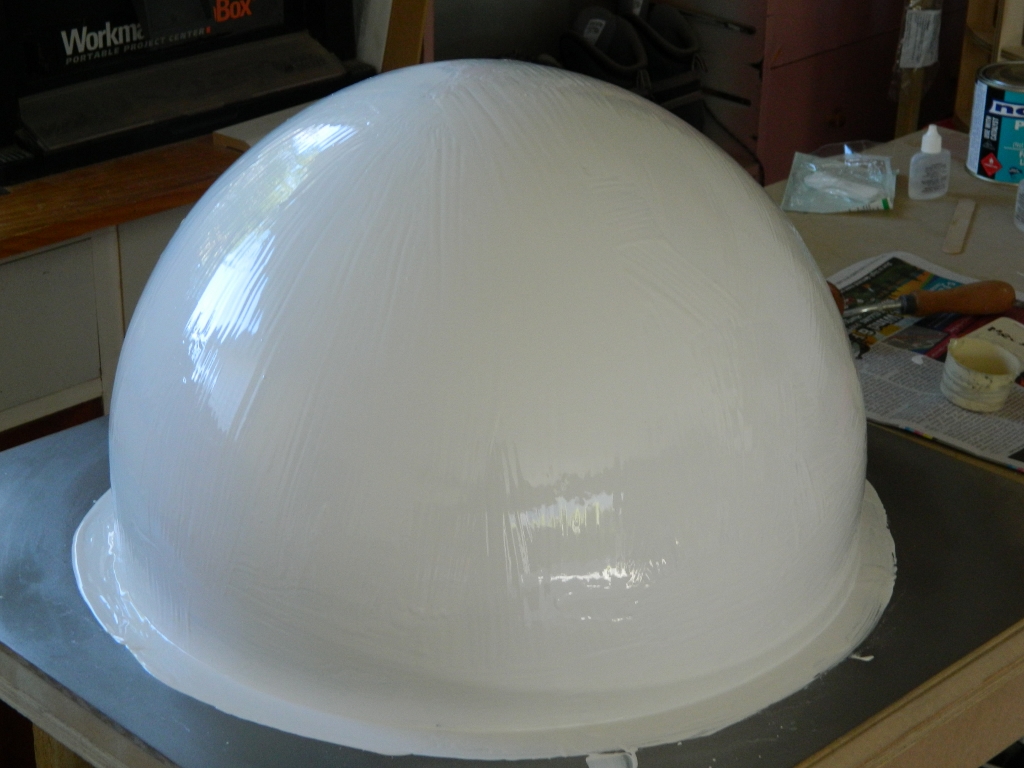
My original plan was to vacuum form a styrene dome over the original polystyrene one that I had made. I started making the polystyrene dome slightly smaller in diameter to allow for the thickness of the vacuum formed styrene shell which would be formed over the outside. Unfortunately, by the time I had plastered the polystyrene dome it ended up full size. This means that a vacuum formed dome would end up too big for the body so I have had to change plan and use the polystyrene dome as a plug from which to make a fibreglass mould and then a replica fibreglass dome the same size as the polystyrene one.
Preparing the plug
Now that the polystyrene dome will be used as a plug for a fibreglass mould, I need to prepare it as follows:
- Attach it to a flat base
- Paint the dome
- Cut and polish with various graded of wet and dry paper up to 2000 grit
- Polish again with a fine cut and polish paste
- Apply ten coats of mould release wax
- Apply coat of PVA mould release.
I thought this first step would be a good opportunity to test some aluminium look spray paint to see if the finish will be suitable for the final dome. I figure it is better to do this now than on the final dome where I may need to sand it off.
.jpg) |
| Dome plug prepared for fibre glassing. |
I was not very happy with the aluminium look spray paint as it came out a bit darker than I would have liked. The photo above doesn't do it justice as in the photo it has ten layers of mould release wax and a coat of PVA mould release as well (also my prep was a bit poor so there are a couple of blotches in the finish)
 |
| Dome again with white gel coat ready to apply fibreglass |
.jpg)